Terraform Remote State Management with S3 and DynamoDB (Production Guide)
 Rajdeep Sengupta
Published on : Jan 15, 2026
Terraform is one of the most powerful tools for Infrastructure as Code (IaC), but its real power only shows up when state is managed correctly.
If you’ve ever worked in a team and faced broken infrastructure, race conditions, or overwritten changes — chances are state management was the problem.
In this article, we’ll build a production-ready Terraform backend using Amazon S3 and DynamoDB, which is the industry-standard approach for AWS-based teams.
What Is Terraform State?
Terraform maintains a state file that tracks:
- Which resources Terraform manages
- Resource IDs and metadata
- Dependency relationships
- Current vs desired infrastructure
Terraform uses this state to calculate execution plans and apply changes safely.
Why Local State Is a Bad Idea
Using a local terraform.tfstate file works only for solo experimentation.
In real environments, it causes serious issues:
- ❌ State gets overwritten by teammates
- ❌ No locking → concurrent terraform apply corrupts state
- ❌ No history or rollback
- ❌ No access control
- ❌ Impossible to automate safely
👉 Any team setup must use remote state
Why S3 + DynamoDB?

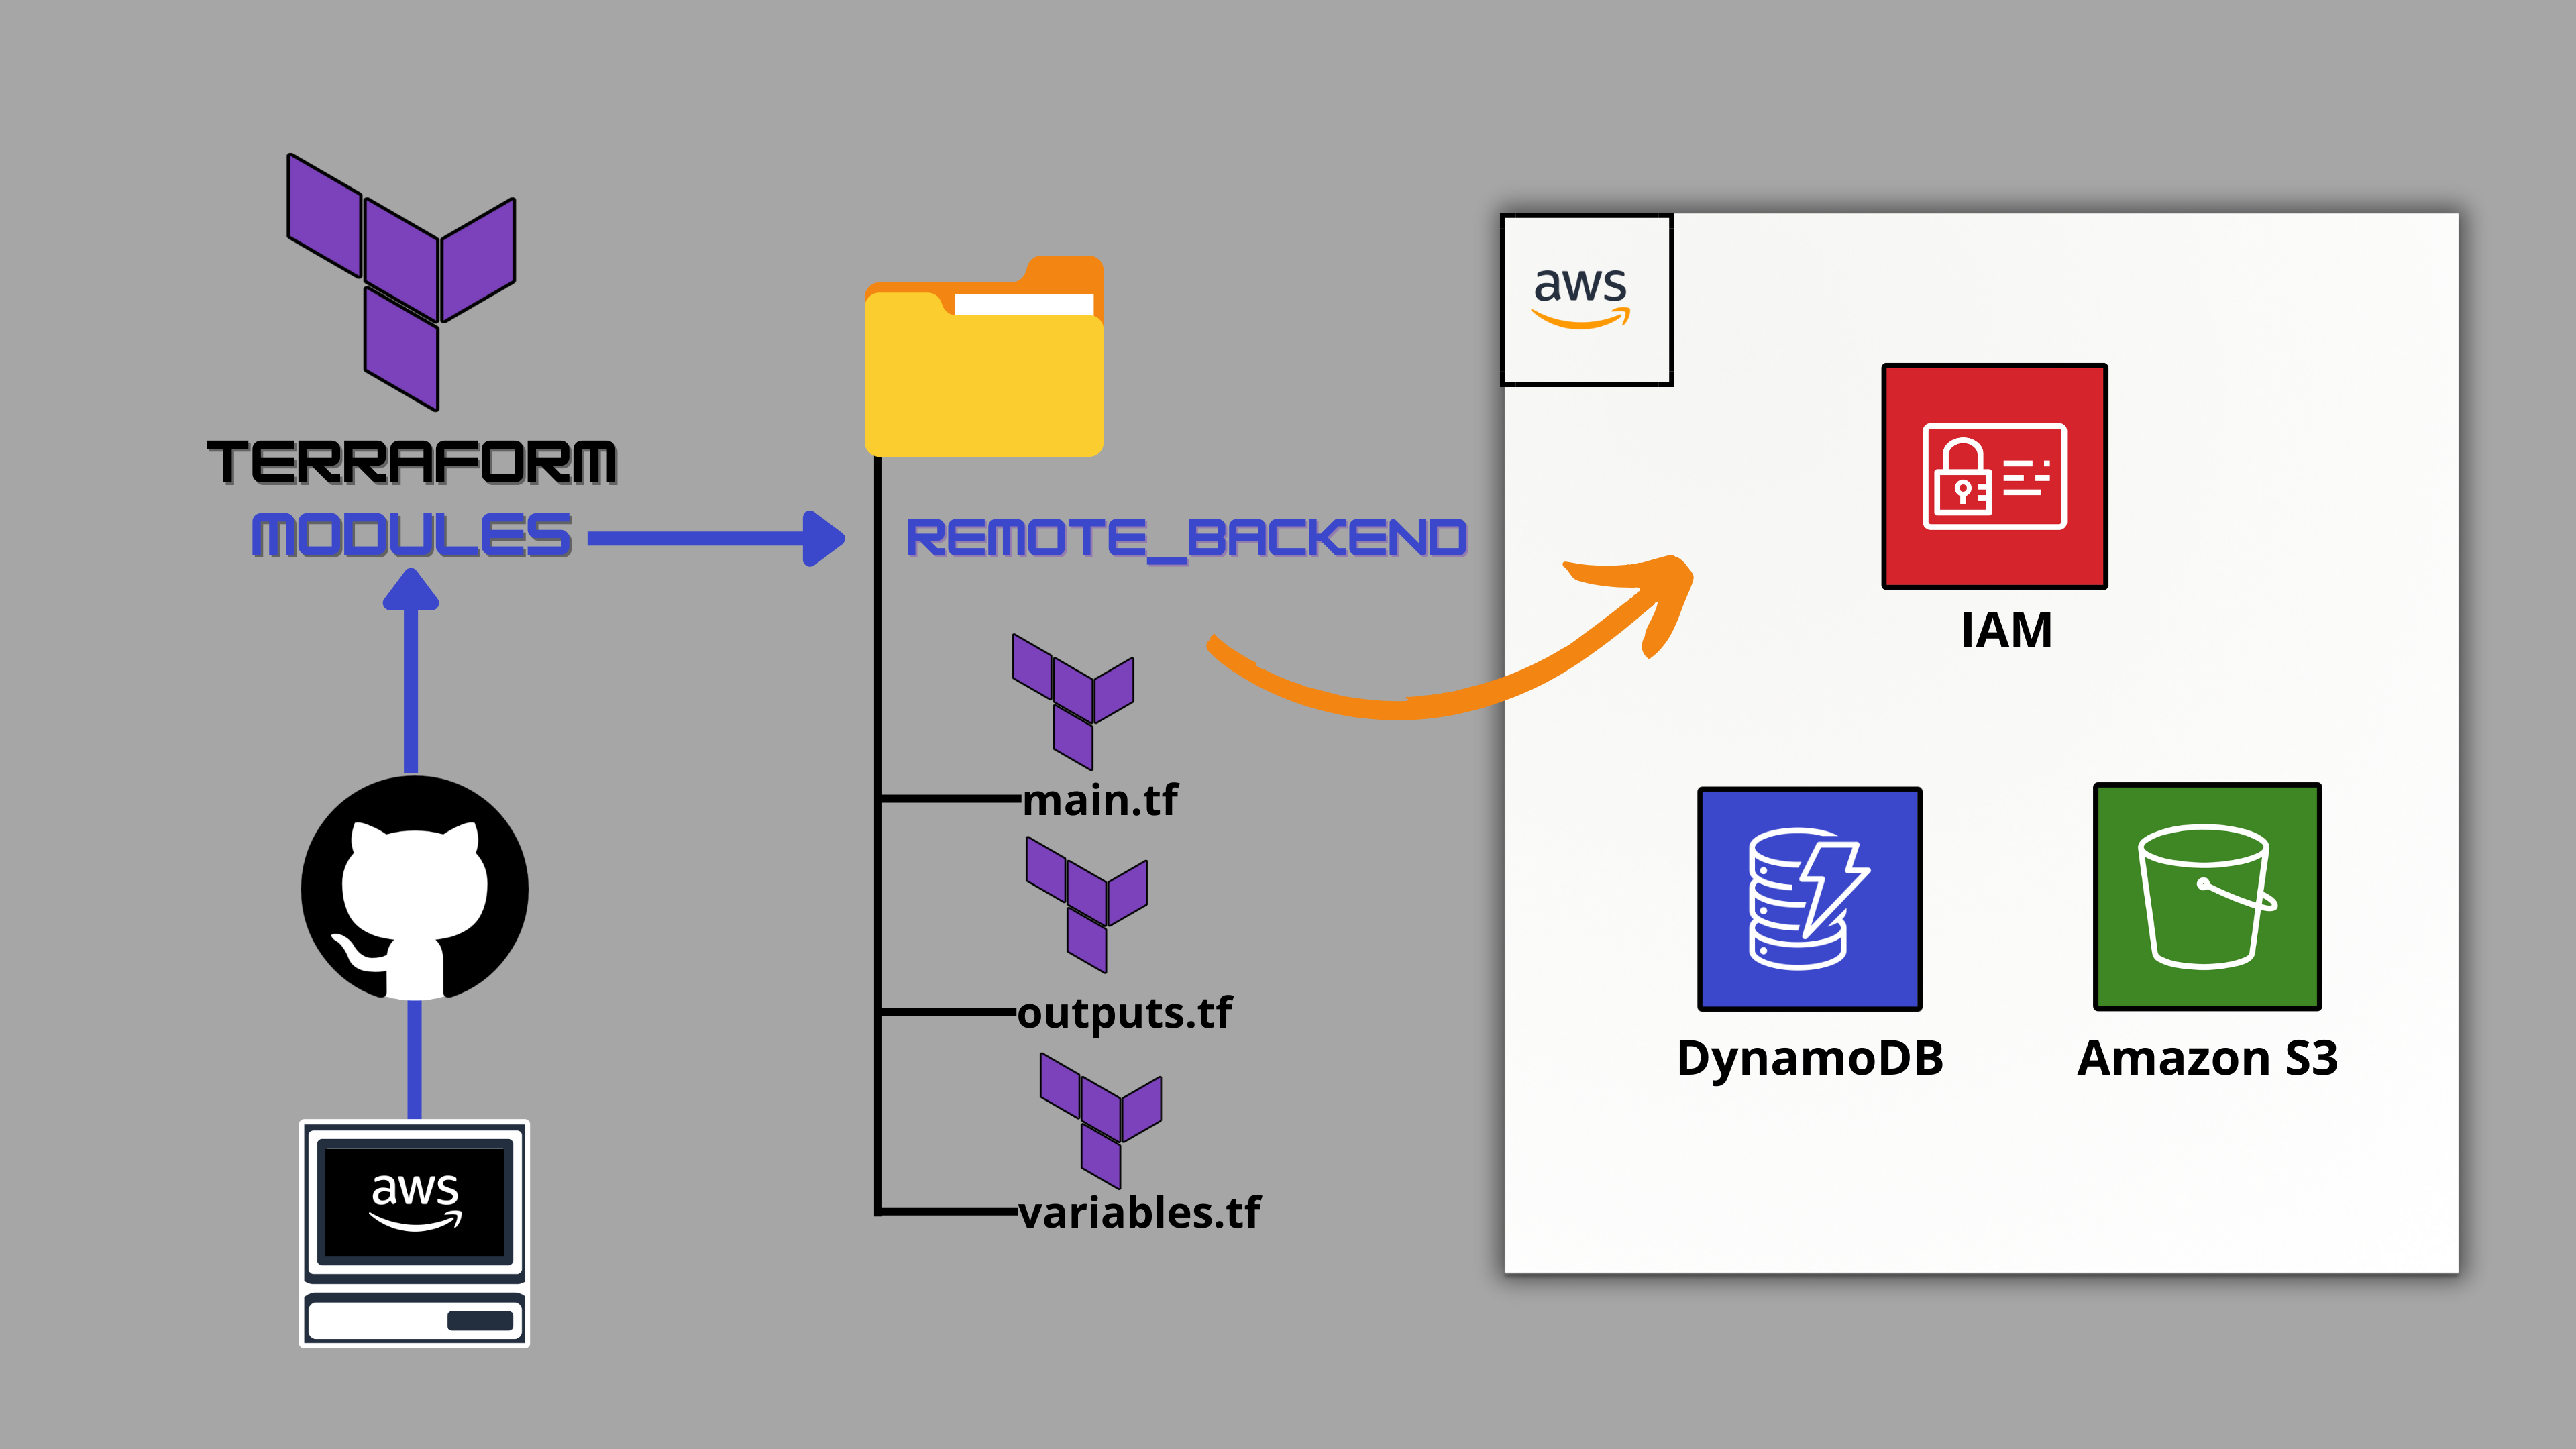
Amazon S3 (State Storage)
- Extremely durable (99.999999999%)
- Cheap and scalable
- Supports versioning
- Integrates with IAM
- Native Terraform backend support
DynamoDB (State Locking)
- Prevents concurrent state writes
- Guarantees consistency
- Fast and serverless
- Minimal cost
Together, they provide:
- Centralized state
- Safe locking
- Rollback capability
- Strong security
High-Level Architecture
plain text
Terraform CLI / CI
        |
        v
+-------------------+
|   DynamoDBLock   |
+-------------------+
        |
        v
+-------------------+
|   S3 State File   |
+-------------------+
Terraform:
- Acquires a lock in DynamoDB
- Downloads state from S3
- Applies infrastructure changes
- Uploads updated state back to S3
- Releases the lock
Step 1: Create an S3 Bucket for Terraform State
Create the bucket
bash
aws s3api create-bucket \
  --bucket my-terraform-states \
  --region ap-south-1 \
  --create-bucket-configuration LocationConstraint=ap-south-1
Enable versioning (CRITICAL)
bash
aws s3api put-bucket-versioning \
  --bucket my-terraform-states \
  --versioning-configuration Status=Enabled
Block public access
bash
aws s3api put-public-access-block \
  --bucket my-terraform-states \
  --public-access-block-configuration \
  BlockPublicAcls=true,IgnorePublicAcls=true,BlockPublicPolicy=true,RestrictPublicBuckets=true
✅ Versioning enables rollback
✅ Public access must always be blocked
Step 2: Create a DynamoDB Table for State Locking
bash
aws dynamodb create-table \
  --table-name terraform-locks \
  --attribute-definitions AttributeName=LockID,AttributeType=S \
  --key-schema AttributeName=LockID,KeyType=HASH \
  --billing-mode PAY_PER_REQUEST \
  --region ap-south-1
Important Notes
- Partition key must be LockID
- No sort key required
- One table can be reused across environments
Step 3: Configure Terraform Backend
Create a file called backend.tf in your Terraform directory:
hcl
terraform {
  backend "s3" {
    bucket         = "my-terraform-states"
    key            = "prod/network/terraform.tfstate"
    region         = "ap-south-1"
    dynamodb_table = "terraform-locks"
    encrypt        = true
  }
}
What Each Field Means
- bucket → S3 bucket for state
- key → Unique path for this state file
- region → AWS region
- dynamodb_table → Locking mechanism
- encrypt → Server-side encryption
Step 4: Initialize Terraform
bash
terraform initIf Terraform detects an existing local state:
plain text
Do you wanttocopy existing stateto thenew backend?
→ yes
Terraform will automatically migrate the state to S3.
Recommended Repository Structure
plain text
infra/
├── prod/
│   ├── network/
│   │   └── backend.tf
│   └── app/
├── stage/
│   └── app/
└── modules/
Why This Structure Works
- One state file per environment and component
- Clear separation of concerns
- Smaller blast radius
- CI/CD friendly
How terraform apply Works with Remote State
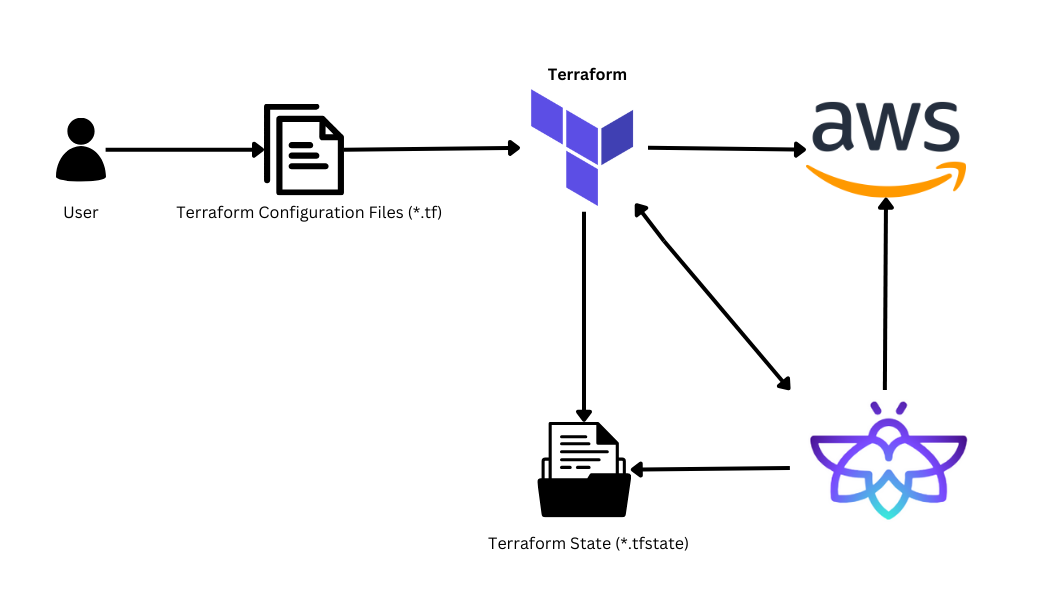

When you run terraform apply:
- Terraform acquires a lock in DynamoDB